We are going to use a fun filter called "Radial Blur". Have you used this before? There are a bazillion (literally, I've counted) ways to use this fun filter, and since you are all Photoshop gurus, I'm sure you'll feel comfy playing along with me :)
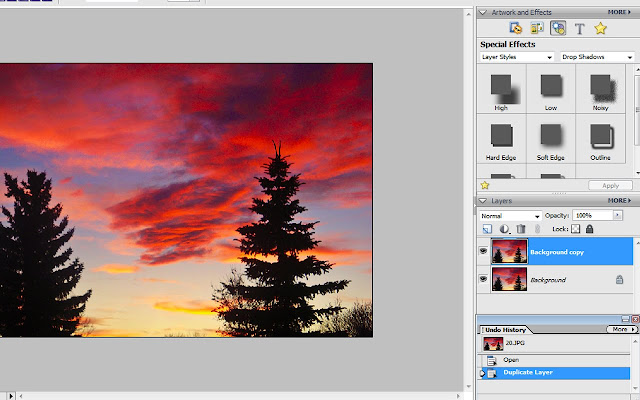
1. Open a photo - ANY PHOTO! We're here to play! This is a shot off my back deck during a gorgeous sunset. You will need to create a duplicate of your background layer by clicking on "Layer>Duplicate" or just click on the background image on your layers palette and drag and drop onto the little dog-eared square and it will do the same thing.

2. Go to the top of the page and click on "Filter>Blur>Radial Blur"
3. This little screen will pop up. Choose the settings I have below ( Amount - 100, Blur Method- Spin, Quality - Good). You can move the Blur center around. Click OK.
4. Now you can play around with the blur layer! I played with erasing parts of the blur layer, and changing the blending mode from "normal" to "overlay". Have fun with this step! If you are working in Photoshop, you can apply a layer mask and play with even more control!
When you are happy with it, flatten and save!
I also tried it with choosing "zoom" instead of "spin" as the blur method in step 3 an got a different effect:
Kinda fun! Have fun playing with this - I'd love to see your results!


3 comments:
Thanks for such wonderful tutorials..it makes PS so much fun for me..I've totally learned it through small tutorials like these..I would love to do what you do with family portraits..Its a long way off and there are no courses here to help me with that..
Thanks again!
Thanks for all the wonderful tutorials. Love them. A while back you asked for ideas for tutorials ... How about one on making web-storybooks (as some call them). Basically, I'd like to know how YOU line photos up with an equal distance between them, make all the photos the same size, etc. For example, let's say I want to make a card with 9 square photos of my family in a 3x3 arrangement. How do I get all 9 photos to be the same size and line up in straight lines with each other? I suppose I have ways of doing it, but I always think there's gotta be a better way. How do you center text? I've made baby announcements using cs4. Another example ... the left 1/2 of my card is a newborn photo and on the right side of the card, I want all the wording, but I want the wording centered on the right 1/2 of the card. How do you center something like this? Hope some of that makes sense!!
princessbeckbug at gmail dot com
Great compilation of useful and splendid tutorial.
Thanks.
Regards,
image masking services
Post a Comment