So, today I'm layout out some different ways to do the initial conversion, and you can see how the results look yourself. First, I'll show you how to do it in Photoshop Elements 5.0 (however all versions of Photoshop Elements should work similarily).
1. Using "Remove Color"
Open your photo, make a copy of the image and close the original (we don't want to permanently convert your original photo to black and white).
Click on "Enhance>Adjust Color>Remove Color"
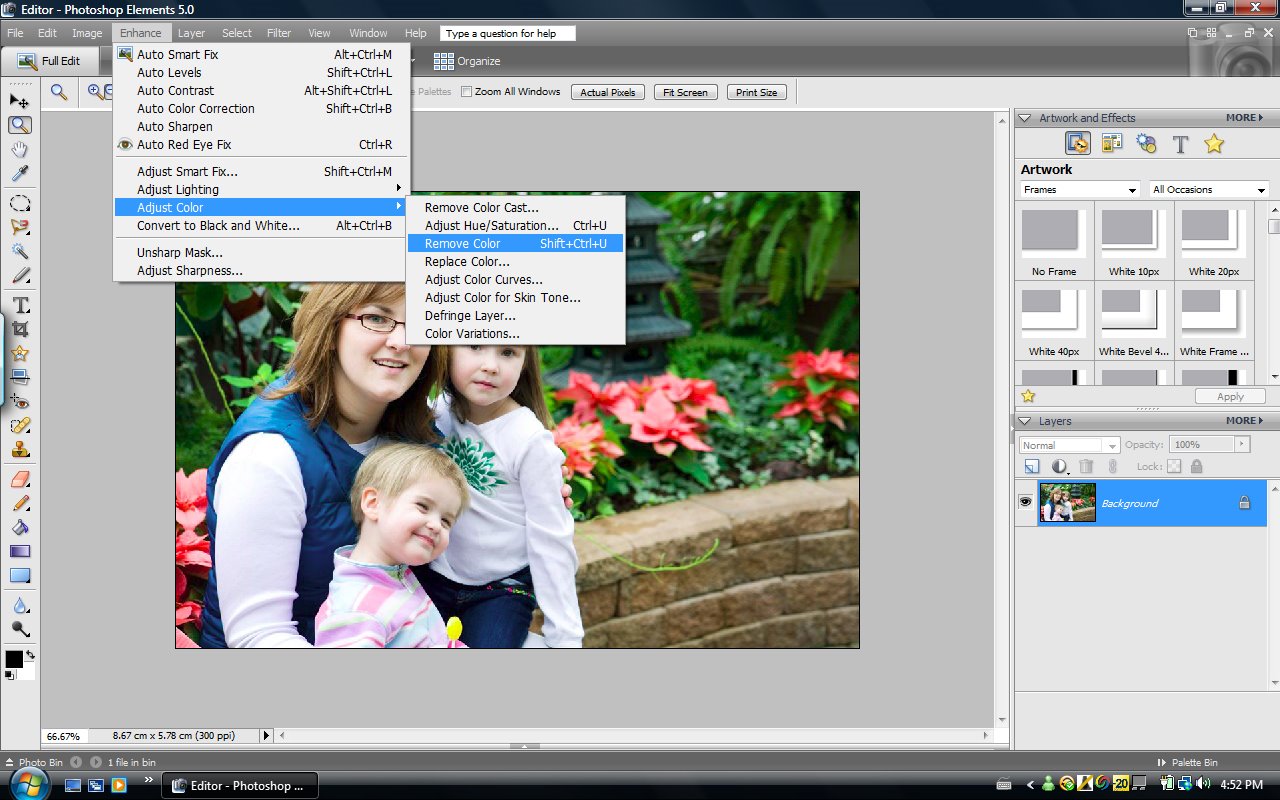 There you go - now your photo is black and white. Is this my favorite method? No. It tends to create black and whites that are very gray and muddy looking - not enough depth, not enough contrast. A true black and white photo should have a range from whitest white to blackest black - not just a bunch of shades of gray. However, it's not too bad.
 2. Using a Gradient Map.
This method is just as easy (trust me) and gives you more depth and contrast. Click on "Layer>New Adjustment Layer>Gradient Map"
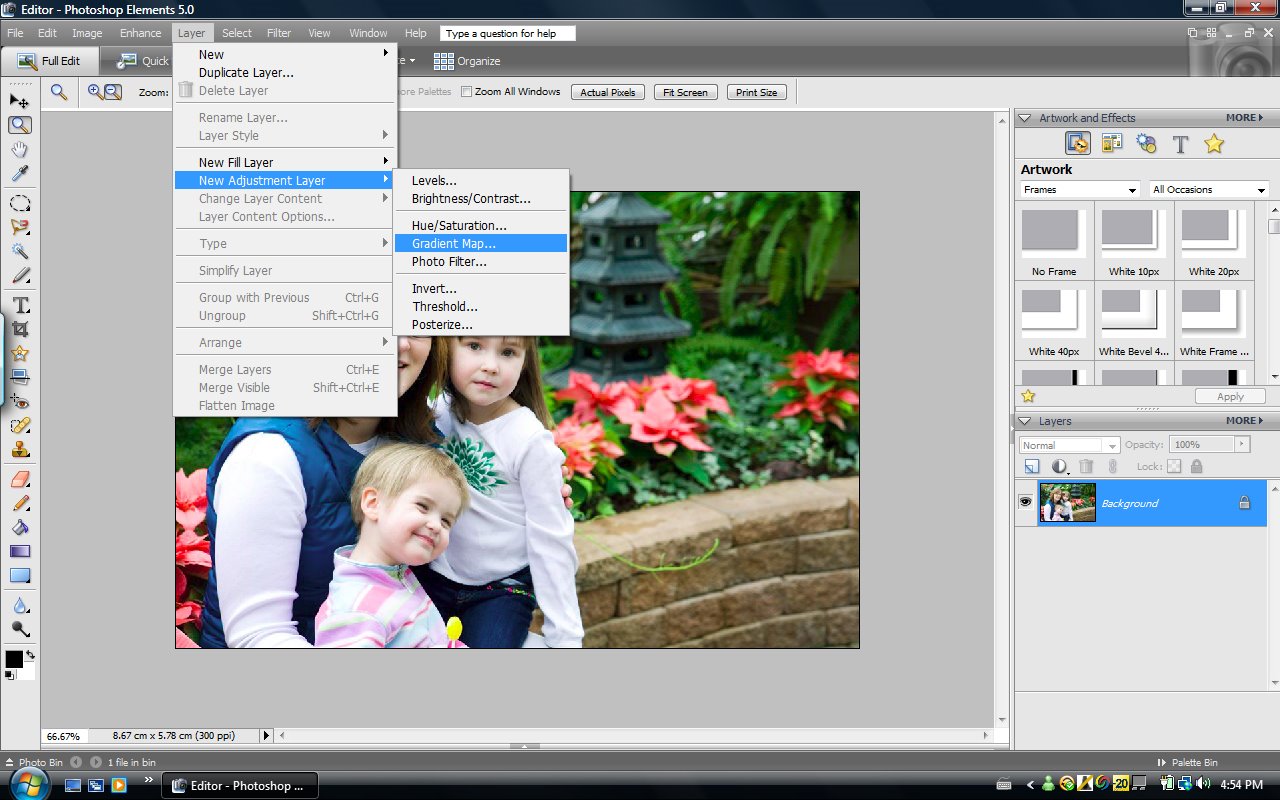 This little screen will pop up. You may immediately see the long rectangular box filled with a black to white gradient like the example below. If you do, you'll see that your photo looks black and white. GREAT! If you don't, simply click on the little downward facing arrow to the right of the rectangle and a screen of options will pop up. Click on the black to white gradient until it looks like the example below. Click OK. Flatten the image.
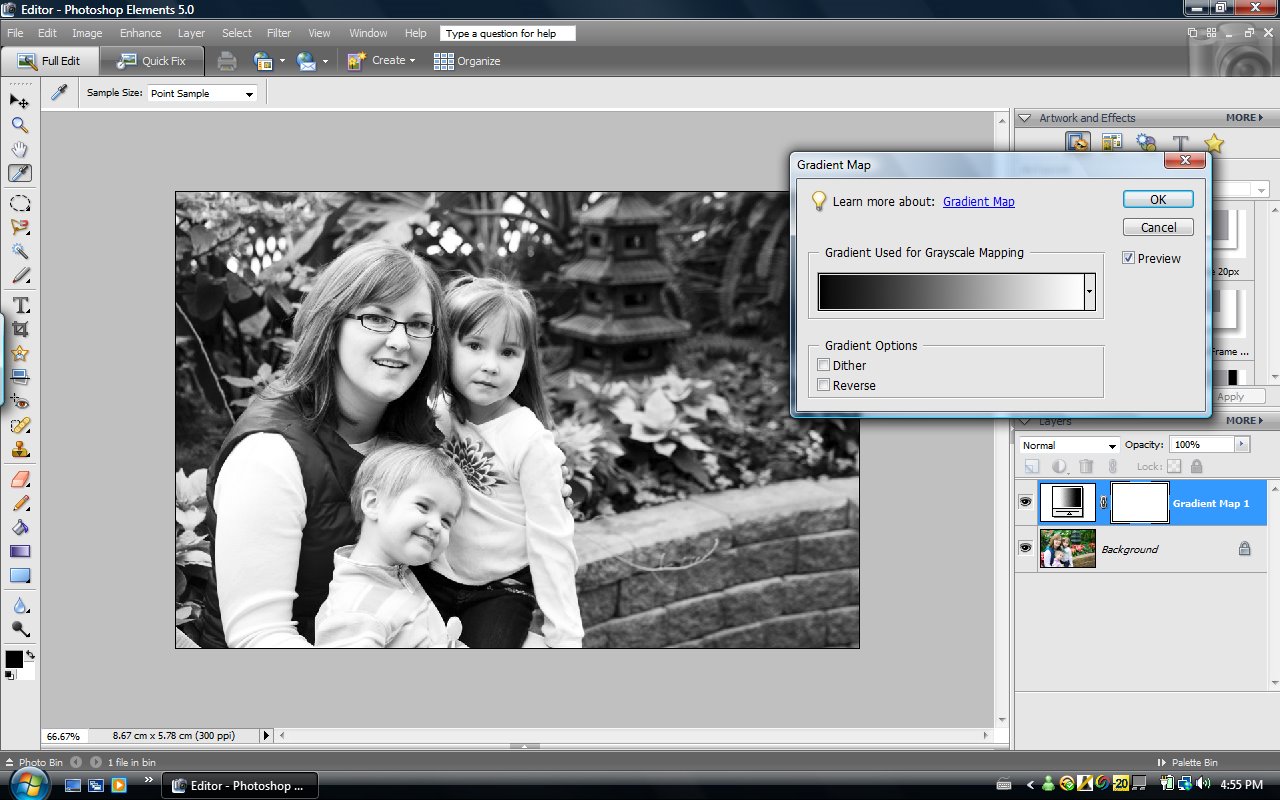 This is an equally quick and much more pleasing black and white to my eyes. You can see the whites are a bit whiter, the blacks darker. It's my option of choice most of the time.
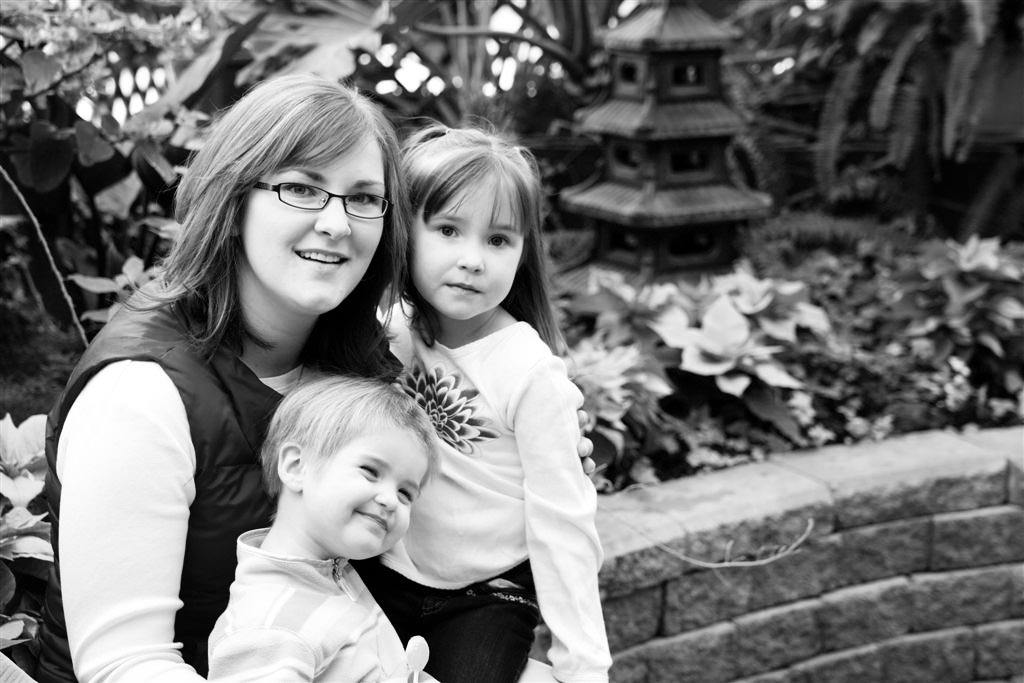 3. Using the Convert to Black and White feature.
Photoshop Elements 5.0 has a really neat feature that I think it very cool! It's the Convert to Black and White feature. It really lets you customize the look of your black and white conversions. Here's what you do. Click on Enhance>Convert to Black and White.
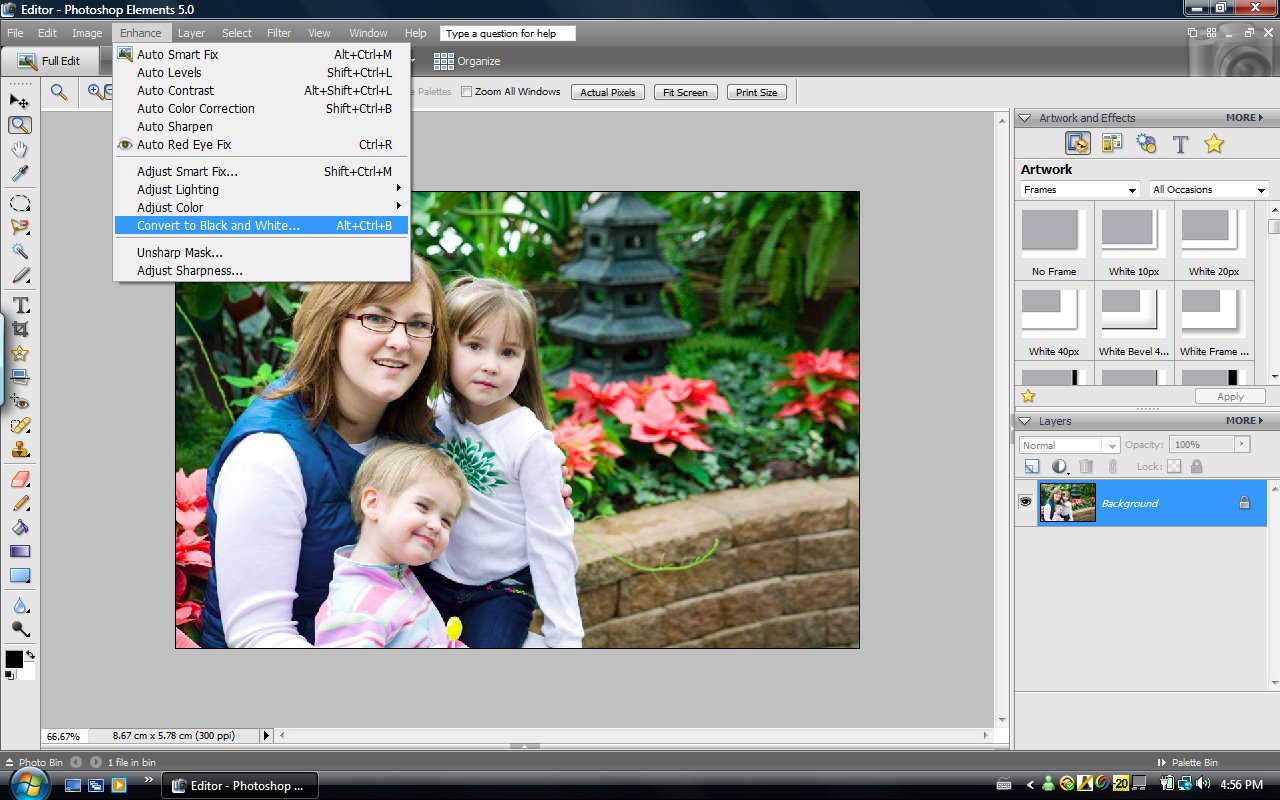 Then this fun little screen will pop up! Here is where you can play around with the settings to get a customized black and white. You can click on the lower left of the screen to try some presets like portraits, newpaper etc. Then to the right of that, you can make adjustments to your liking. When you're happy with the results, click OK.
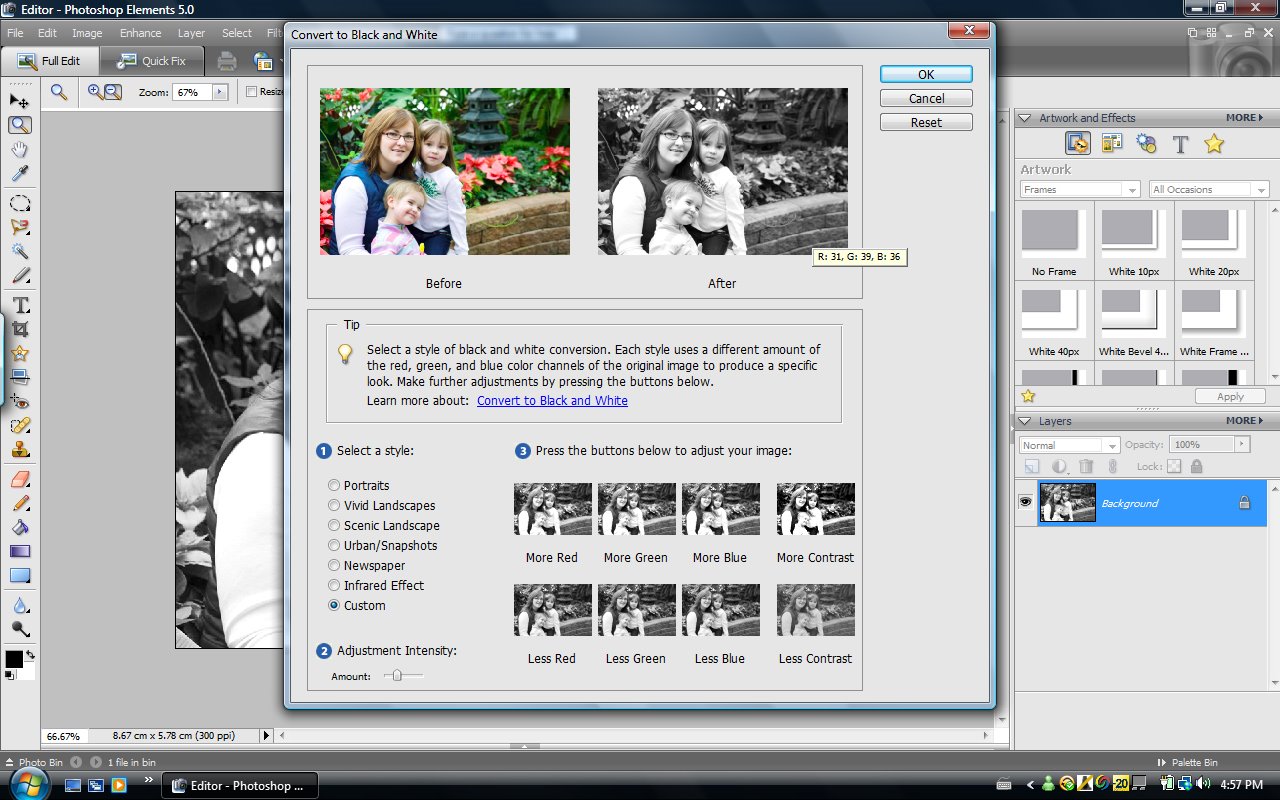 This is just one result you can achieve! Have fun playing with the different settings and see what fun things you can come up with!
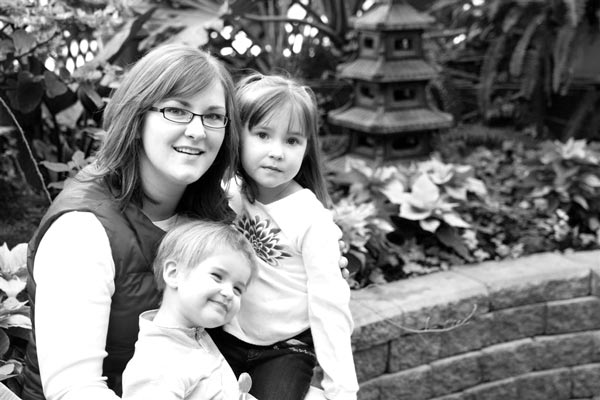 4. Now on to Photoshop CS (and up) users. There is a method that gives you some control over the results, and offers you some very moody, contrasty looks. It's called the "Calculations" method.
Open your photo, Click on Image>Calculations.
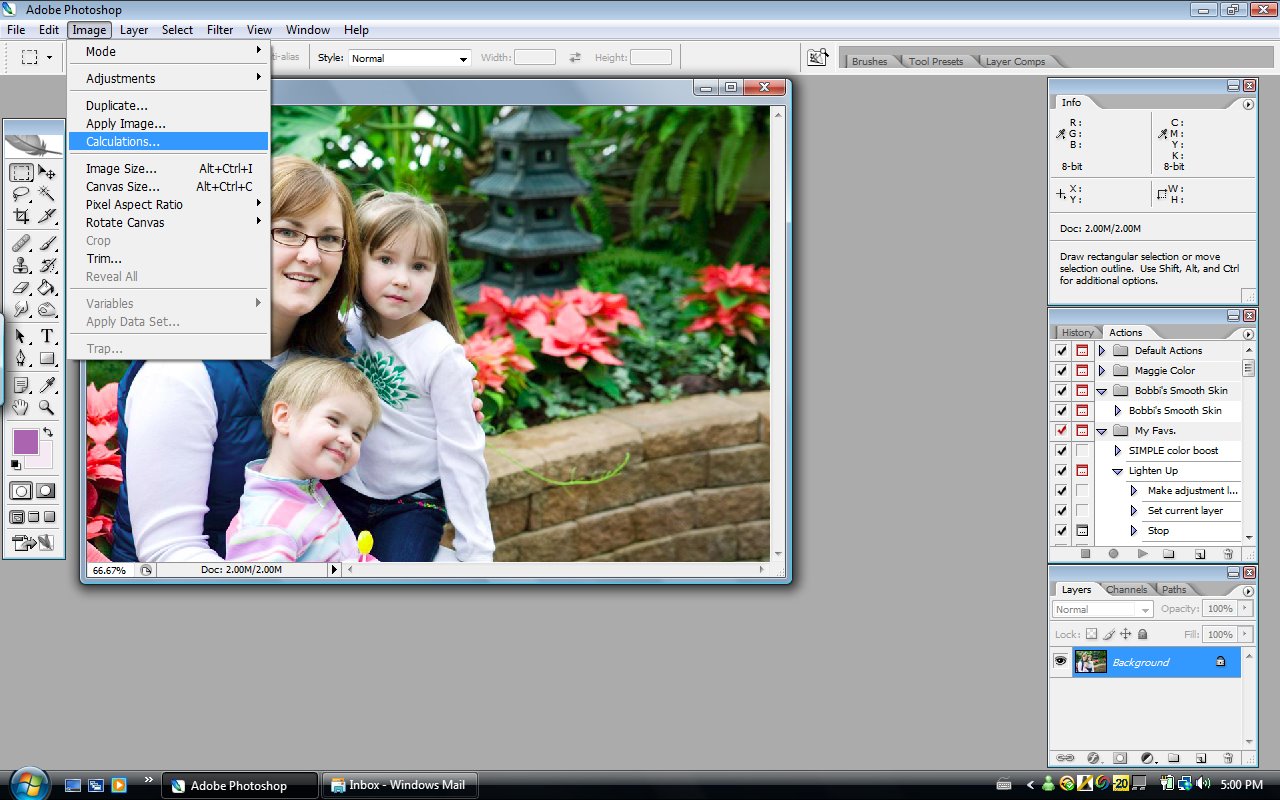 Your photo will turn to black and white and this little screen will pop up:
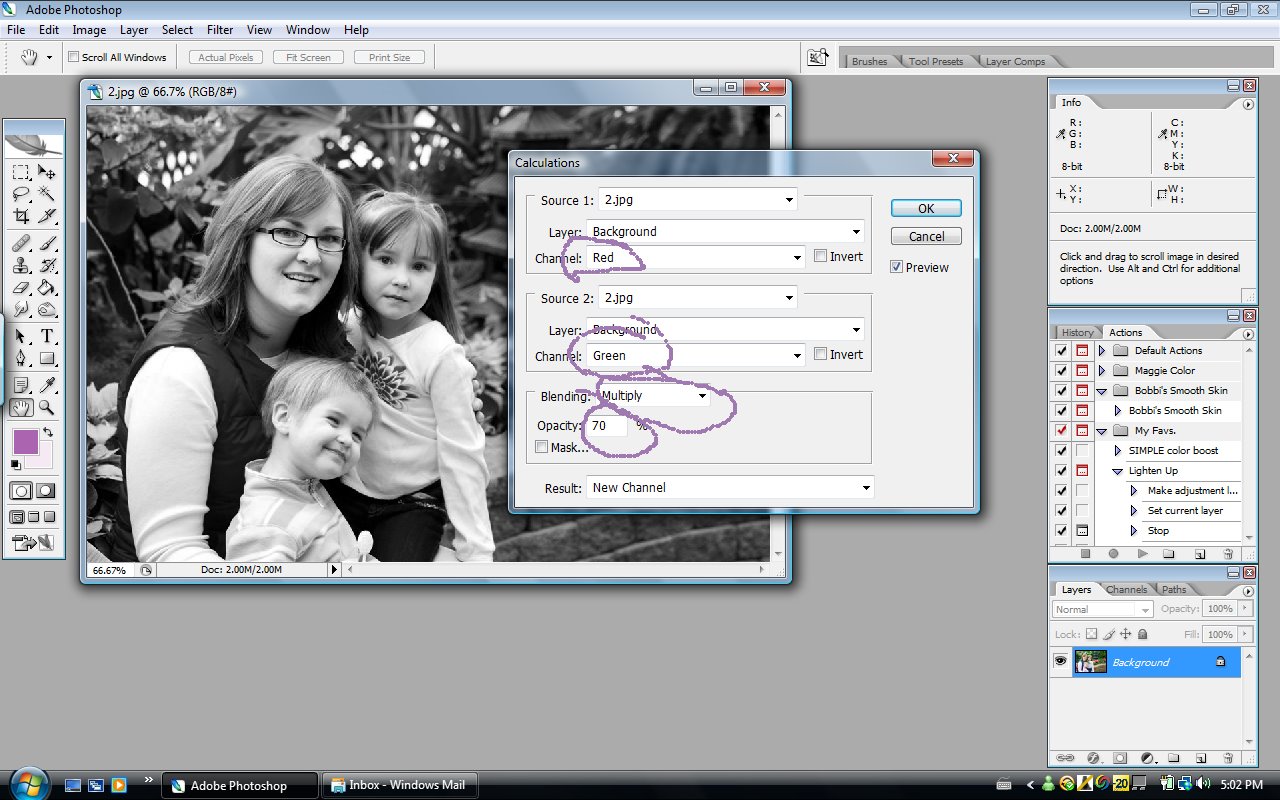
Once you hit this screen, you will see that, by default, Calculations will have both channels set on "red". Go to the second channel (the second or lower box) and change it from red to "green" and see how that looks. Now, try changing the box beside "Blending" from multiply to Overlay. Now you can adjust the opacity box to something like 60% (or whatever you want to achieve the effect you want). When you like the results of your changes, click OK.
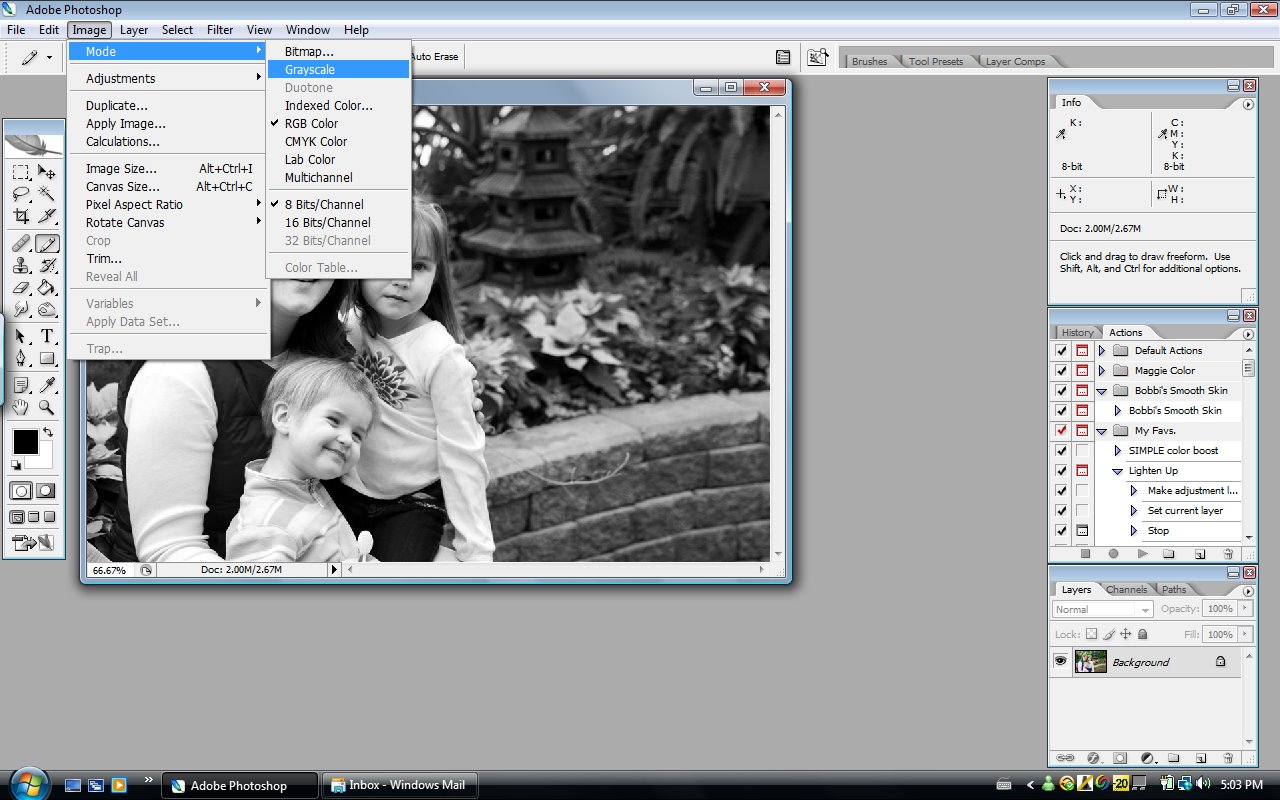
Now, before you save anything, you need to convert this to grayscale mode. Click Image>Mode>Grayscale. This will fully convert your photo to black and white.
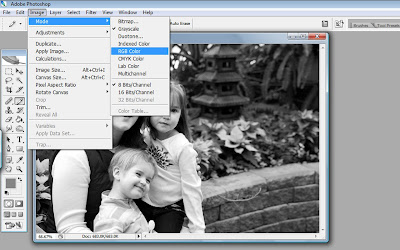
Now, this will seem redundant, but you will click on Image>Mode>RGB. This will allow you to continue editing, perhaps add a color effect to it, a sepia tone, whatever.
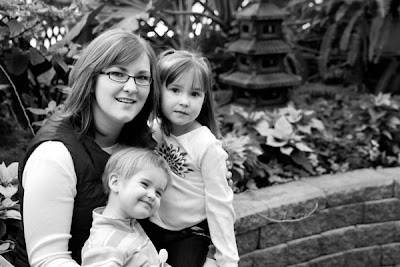
 This method creates a black and white image with lots of depth - and don't you sound smart for using the "Calculations" method? :)
5. Finally, I want to show you a wonderful technique that works awesomely with most color photos (though I prefer this method on photos of things, rather than people - but really it's a personal choice.) It's called the "Channel Mixer" method.
Open your photo and click on "Layer>New Adjustment Layer> Channel Mixer".
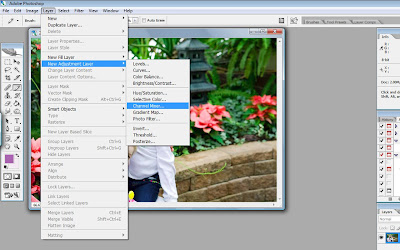 A little screen called (what else) "Channel Mixer" will pop up. By default, Channel mixer is set to blend COLOR RGB channels. We don't want color in this case, so we're going to click the tiny box on the bottom left hand corner where is says "Monochrome". This will enable you to blend these channels as grayscale.
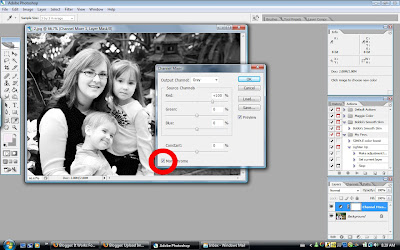 Now, play with the sliders! The general rule was that the numbers should add up to 100, but who wants to do math? We're being creative! So, slide the sliders (usually I lower the red setting to around 95% or so, then raise the green and blue channel numbers to anywhere from 1 - 20% depending on the look you want!). You will be able to see the changes being made on your photo as you make them. When you like the result - click "OK"!
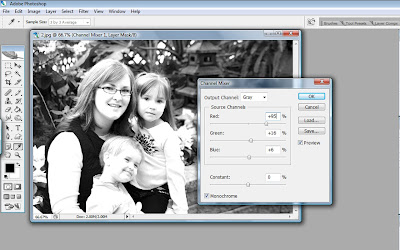 Flatten your image. and DONE!
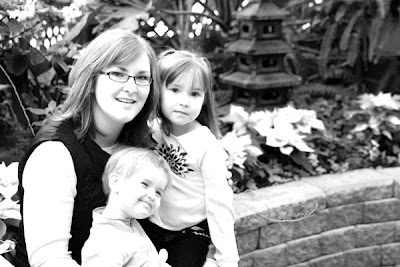
I hope you'll have fun playing with these different methods and find one (or two, or three) that work best for you! I love converting color photos to black and white for several reasons - it creates an entirely different "mood" for the photo, it makes matching papers in scrap booking a breeze, and I don't have to worry if a photo has wonky coloring (thanks to fluorescent lighting etc.) because black and white always looks great!
Like I said, once your photo is black and white, you can then add different adjustment layers to add some contrast, a different hue, or whatever! Have fun and leave your link to YOUR black and white conversion. Let me know which method YOU enjoy!

1 comment:
Great tutorial! Very easy to follow!
Post a Comment