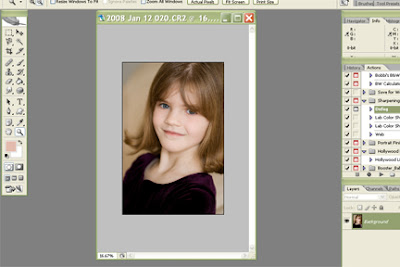
Okay, so let's get started~! This is a simple techinique that adds a nice subtle vingette around a photo, and it works in both full version Photoshop and Elements the same way, so let's begin~
1. Open the photo you want to add a vingette to. (File>Open)

2. You will create a duplicate of this layer by going to: Layer>Duplicate Layer or use the keyboard shortcut of pressing Ctrl-J (or Command-J on a Mac). 3. You can name the layer something else, or leave it as "background copy" then press OK.
 4. If you look to the right of the screen on your Layers panel, you'll see two copies of the same image. Make sure the top image is highlighted (it should be already). Now we will change the layer blending mode to "Multiply". Don't freak out here, just click on the little downward arrow beside the word "normal" and this long list of blending options will pop up. Find "Multiply" and click on it. Your photo will become quite dark - it's okay, we'll fix that soon!
 5. Select the rectangular marquee tool (by pressing "M" or by clicking on the little dotted square on the tool bar to the left)
 6. Draw a rectangle on your photo by clicking your mouse on the upper left hand corner and (while still holding down the mouse) dragging your mouse to the lower right hand corner. Make sure your selection is about 1/2 " inside the edges of your photo - like the example below.
 7. We don't want a rectangular vingette, so we are going to soften the edges of the rectangle you just made by going to the top of the screen and pressing "Select>Feather"
 8. Now enter a Radius of 200 pixels (like shown here) and click OK
 9. We are almost done! Simply click your Backspace button (or Delete on a Mac) and voila! Okay, so you've got to get rid of that oval selection on your photo before you're done, so go to "Select>Deselect" (or just press Ctrl-D) and THEN voila! Okay, so you've still got two layers, but this is a good thing for now. If the darkened edge is too close to the faces, just click on your eraser tool (it's the one that looks like an eraser), choose a soft edged brush and simply paint over the parts that are too dark. When you like the result, flatten the image and your'e done!
Here are the before and afters:


** I've had a request for a storyboard tutorial, and I am working on it - so stay tuned. Perhaps I'll have it ready for next Tuesday!

3 comments:
Thank you for all your tutorials. They are so easy to follow and make my life so much easier. :) I love to shoot photos, but am a true dummy when it comes to enhancing them. Again...Thanks!
Karen, WY
Talent and passion, you've got a great combo of them both. :)
Thank you!!!
Post a Comment