

It's been way too long since I've posted a tutorial - so sorry!! I don't function well with a brain full of mucous (isn't that the grossest word in existence? Are you still here?). I thought I'd post a super duper easy tutorial on adding a texture using Photoshop's built in textures! They are awesome! So, you wanna try?
1. Open your photo in Photoshop (not sure if this works in Elements, but give it a shot!)

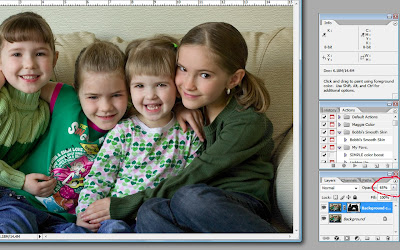
2. Now you want to duplicate your layer. Do this by clicking on Layer>Duplicate Layer>OK or by simply clicking on your background layer in your layer's palette and dragging it over the little "new layer' icon at the bottom of your layers palette, then letting go of the mouse button.

3. Now you will have 2 layers of your photo -background layer and background copy. Make sure the background copy is selected (highlighted) then click on Filter>Texture>Texturizer.

4. This screen will pop up. You can choose different textures and play with the settings to get the effect you like. You can see the changes in the preview window to the left of the settings. Have fun playing here! For this example we will use the settings of
Texture: Canvas
Scaling 88%
Relief 10
Light: Top
and the Invert box UNchecked

Click OK when you are happy with the effect.
5. Now you can leave it like it is, or if you'd like to erase the effect on your subjects but still have the background texturized, then you will want to create a layer mask. So, make sure that your background COPY layer is selected, then click at the bottom of your layers palette and click on the little icon that looks like a box with a circle in the middle of it. That will create a layer mask next to your background copy layer.

6. Click on your paintbrush tool and select a soft brush. Set the opacity to around 50% to start. Then make sure black is set as your foreground color, and paint over your subjects by moving the mouse, while holding the button down, over the areas you want to "erase" the texture from. You will notice, on the white rectangle box next to your layer, that it shows black wherever you are painting it in. If you make a mistake, remember, you can change your foreground color to white and paint back the texture on any spots you accidentally erased! That's the beauty of Layer Masks!

7. When you are happy with your effect, flatten and save! I decreased the opacity of my texture layer to 65% until I liked the effect.
You can see how many fun options there are when you use the different textures built right in to photoshop! I hope you have fun playing, and leave me a link to YOUR texture pics!

You can see how many fun options there are when you use the different textures built right in to photoshop! I hope you have fun playing, and leave me a link to YOUR texture pics!
1 comment:
I LOVE that you added the "you might like these stories" at the end of this post! You should do it for all of them! :)
Post a Comment