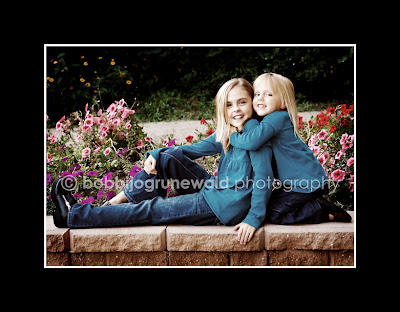
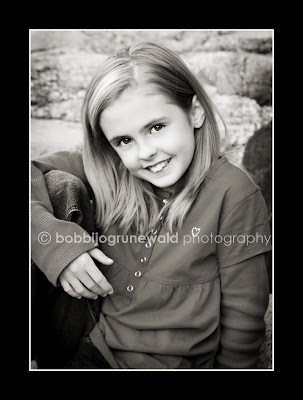
But first things first - the D family. Such a sweet family. Why am I so lucky to always work with the nicest people?? Seriously. This family was not only sweet, but they had SO many fun ideas, and were willing to try anything. PLUS their kids were SO cooperative - made things go swimmingly! They have 2 daughters of their own, plus two foster kids - ages 7 months and 9 months. Are they saints? Absolutely :)
 It was easy to capture how much they love each other. What an awesome family.


 Okay, now for our tutorial. I LOVE this, LOVE IT LOVE IT! Do you remember way back when, when silhouettes used to be so popular. Like those shadow face silhouette things they used to have in frames? I just figured out a fun way to do this technique in Photoshop elements, so of COURSE I have to share it with my friends~ Ready? Thought so :)
TIP: to do this technique, try to choose a photo (or think about this when you TAKE the photo) that has a neutral, contrasting color from your subject. The less "busy" the background, the better this technique will work.
1. Okay, open your photo, create a duplicate of the image and close your original. You want to work on a copy for this (in case you make some mistakes). Do you remember how to do this step? (In elements, you can go to File>Duplicate>OK) Alright. When your photo is open, you will click on Image>Magic Extractor

A funky window will pop up that looks like this:

2. To the left of the screen, you'll see an image that looks like a marker tip with a tiny '+' beside it. Make sure that is clicked and then carefully color over your subject. This is telling the program what part of the photo you want to "extract" or "cut out" of the image. You don't have to do it perfectly - just scribble, kind of like this:

3.Next you will click on the marker with the '-' beside it and scribble over the background (or the parts of the image you want to have erased. That will be colored in blue. Like this:

4.Click on the "Preview" button to the upper right hand side of the screen to get a preview of what it will look like. Make any adjustments following the same steps as above until your subject is extracted like you want it to be. When you are happy with how it looks, click OK.
5. You will be brought back to your regular photoshop screen, but now your image will look like this, with your subject "magically" extracted from the background, and with a transparent background (you know it's transparent because you'll see the gray and white squares as the background). Cool! Can you imagine the fun possibilities using this tool? Put yourself in Africa next to a roaring lion, or on top of one of the pyramids.. possibilities are endless :) Okay, focus - we are making a silhouette here!
6. Now you want to select your subject so you can fill it in with black for your silhouette. What you will do here is click "Ctrl" and while holding down the ctrl button, click on your image on the layers pallete to the right of the screen. (It will be the picture labelled "Layer 0" - the only picture on your layers pallette)

7. When you've clicked on your image thumbnail, your subject will now be surrounded by marching ants like below:
 8. Make sure your foreground color is changed to black (on your two little squares on your tools palette) then click on Edit>Fill Selection. Then select "foreground color" and click OK.
9. To get rid of the marching ants, click on Select>Deselect (or Ctrl+D).

And Voila! You have your silhouette! Now can you drag and drop it onto a digital layout, copy and paste on to a word document, whatever! I can't wait to do this with my daughter for her joyschool "all about me" book. If you have any questions, please email me and I'll help the best I can! Enjoy!


4 comments:
Great Tutorial I can use this with my sons Soccer pictures. I have been using your tutorials like a mad woman lately. Thanks for all the work you put into them, my pictures on my blog thank you! :)
i enjoyed looking over your work and ideas!! lovely blog! Ill be back again!!
That older girl is like Miss Superpersonality-- I can tell. What a cute family.
I love this tutorial. I just need to think of how to use it.... hummmmm!
WOW, this is super cool! LOL. Love your photos and turorial.
Sandy O
www.papertransformer.com
Post a Comment