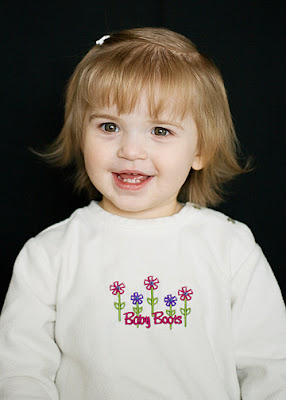
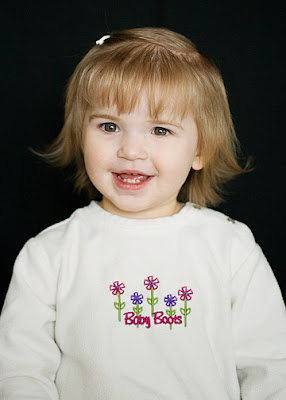
Now, for the record when it comes to the model for this, no 'touch ups' are needed. He is perfection in my eyes :D However for the sake of demonstration, I will show you how to enhance an already wonderful photo of an already wonderful person. Tee hee hee. Seriously though, nearly everyone I photograph has dark circles under their eyes, even slightly - whether it be from age, lack of sleep, or just nature taking it's course, it happens quite often, and it's something that is really a quick fix - especially using the "Clone Stamp Tool". LOVE this thing, and this is just ONE of the many uses for it. Essentially what it does is select an area of the photograph that you want to copy, then you paint that selected spot over the spot you want to change. It basically CLONES the spot you are editing with another spot that you choose. Got it? Let's get started:
1. Open the image you want to..ahem..enhance, and then select the "Clone Stamp Tool" by looking in your tools palette and clicking on the icon that looks like this (a stamp)

2. When you click on it, go to the top of the screen and adjust the settings to reflect this: (Mode: Lighten, Opacity: 30%, Flow 100% adjust the brish size so that it's just larger than the dark circles that you want to edit, and be sure it's a soft edged brush) The reason you are choosing "Lighten" is so that the brush will only work to lighten darker areas (which is what we want here!)
 3. move your mouse over the area of the photo you will edit. Press "Alt" and you'll see this symbol appear where your mouse is pointing:
 This indicates the spot you want the take the sample from. I chose the area just below the dark circles. While holding the "Alt" key down, click on that spot then let up the mouse button. Now move your mouse up to the inside corner of the eye. Click on the mouse and hold down while dragging your mouse slowly to the right. You'll notice a little "+" below the brush, which is showing you where you are taking your sample from. The circle above is where you are painting. Wherever you drag the circle, it will copy whatever part of the photo the "+" is on. Does that make sense?? Keep repeating this step until you like the result. Repeat on the opposite eye, resampling the skin below THAT eye's dark circle. You want the sampled area to match as closely as possible to the part you are painting over. Hope that made sense. It's very simple in practice, but I have a hard time putting it into words.
Here is the results:


Even my 1 year old needs a little enhancing in this area:


Can you see the difference? It looks natural but really enhances the look. What are you waiting for? Go TRY it!

3 comments:
bobbi- I tried it, and it worked! yay. I just forgot to duplicate my pictre first- not sure I know how to do that. but I am so happy to learn one thing. now, if I can just learn the collage thing! that would be fabulous.
I just used this one today and it worked SOOO great!! Love your tutorials!!!
Can find the lighten part in PSE 11
Post a Comment